-

-
Chef with Roasted Pig.
-

-
GM & Chef with Roasted Pig.
-

-
“The Witches Attack” and “The Zombie.”
-

-
Ancas de Rana en Mole Verde.
-

-
Bistec con Pasilla.
-

-
Huatape de Hongos.
-

-
Mole de Olla con Rebo de Res.
-

-
PuePuerco en Chile Morita.
-

-
Pescado Veracruz.
Organic tequila, roasted pig, and wrestling masks: Need I say more?
Last week at Oyamel’s menu preview of their upcoming Day of the Dead Celebration event, I entered Oyamel’s establishment and found festive bartenders donning wresting masks while pouring Oyamel’s specialty Day of the Dead cocktail drinks. I knew it was going to be a good night.
But what exactly is The Day of the Dead? It is a Mexican holiday tradition that recognizes Mexican friends and family members who have passed away. This year, Oyamel honors El Santo, or Rodolfo Guzman Huerta, an actor and Mexican folk icon, but he is best known as Mexico’s legendary luchador wrestler.
Oyamel’s Head Chef Colin King recently came back from a trip to Mexico and personally created the Day of the Dead menu items inspired by El Santo’s favorite dishes. They are as follows:
Puerco en Chile Morita:
Local pork spare ribs that are braised and lacquered in a chipotle chile morita salsa. The balance between the subtle yet steady flavors of the pork and the exceptionally fresh salsa was very well executed. This was one of my favorite dishes from the night.
Bistec con Pasilla:
This local hanger steak is placed over a sauté of cactus paddle, sweet potato, and seasonal squash mixed in with salsa pasilla negra, a cured egg emulsion, and pickled chile dressing. It was cooked beautifully with the right amount of rareness in the meat and the flavors are a bit louder than the Puerco en Chile Morita but rightfully so.
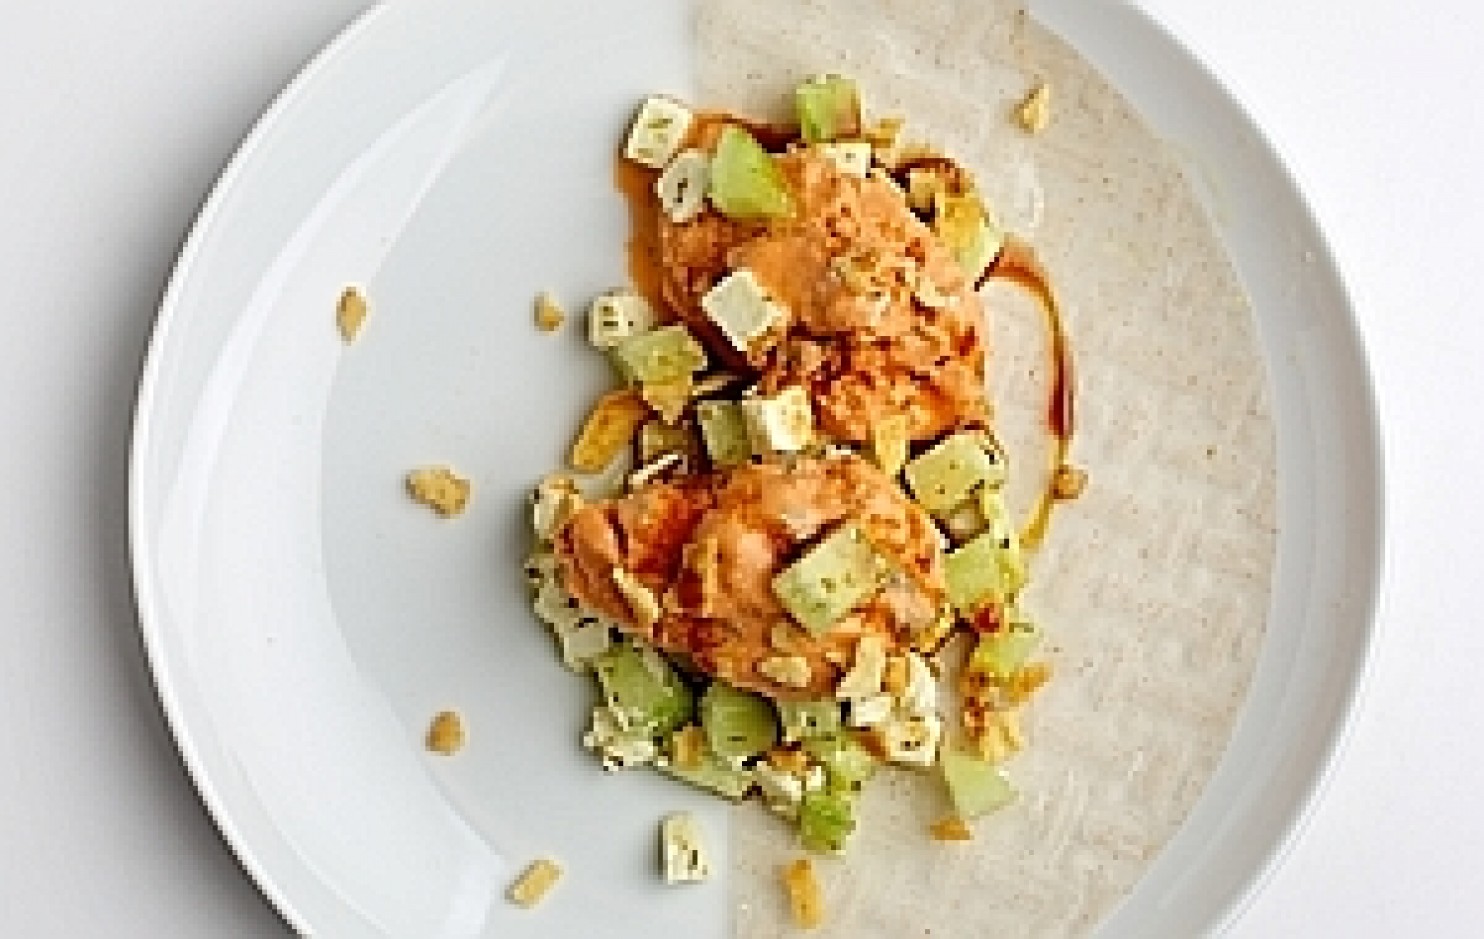
Ancas de Rana en Mole Verde:
Cured frog legs coated in a crispy batter served over a green mole of tomatillos, sesame seeds and serrano chilies with a frisee salad. I was not particularly fond of the batter but once I got through it and indulged into the frog leg, I must say, I’ve said it before and I’ll say it again: it tastes just like chicken.
Huatape de Hongos:
The locally foraged wild mushroom is served with a green chileatole consisting of epazote, sorrel, and jalapeno. This was surprisingly a favorite of my boyfriend (who attended the menu preview with me). This is a delicious vegetarian choice (or any choice for that matter).
Pescado Veracruz:
Now this was one of the more popular items of the night. The wild-sourced snapper was tender and juicy in a Veracruz-style sauce that consisted of tomato confit, caramelized pear onion, garlic, capers, and olives. Another favorite of mine other than the Puerco en Chile Morita.
Mole de Olla con Rebo de Res:
This was my third favorite dish of the night. The locally sourced braised oxtail is succulently tender and complemented by a vegetable stew served with pickled vegetables. The tang from the pickled veggies was an excellent choice to balance the braised meat.
But that’s not the end of the Day of the Dead menu specials! Oyamel’s Beverage Manager, Jasmine Chae, is responsible for specialty cocktail drinks that complement El Santo’s movies featuring El Luchador, a clean-tasting organic tequila made by David Ravandi. El Luchador itself was inspired by the famous masked wrestlers of Mexico so it only makes sense that they are also the official sponsor of this event.
El Santo Contra los Zombies or Santo vs. the Zombies:
Inspired by the movie Santo vs. the Zombies, the Zombie cocktail rounds up El Luchador Organic Tequila, 123 Organic Tequila Blanco, 123 Organic Tequila Añejo, D’Aristi, orange liqueur, orange, lemon, and pomegranate in a nice large cocktail glass. For those who appreciate the sweetness of fruits without compromising its cocktail kick, this Zombie is for you.
Santo en Atacan las brujas or The Witches Attack:
Inspired from Santo’s role in the film The Witches Attack, this simple yet refreshingly delicious cocktail was my favorite choice of poison for the night. The Witches Attack consists of El Luchador Blanco Organic Tequila, grapefruit-lavender mint syrup, and soda. It’s dangerously good; you have been warned.
Now that you have a sneak peak at what is to be offered at Oyamel’s Day of the Dead Celebration Event, you can purchase your tickets at: nvite.co/oyameldotd. (Editor’s note: This link did not work for me, so I’ll followup for the correct one.)
The event will be held at Oyamel (401 7th Street NW, Washington D.C.) on Monday, October 20, 2014 from 6pm to 9:30pm and tickets are $60. Specials remaining will be available from October 20th to November 2nd.
Salud!
-EHY (Elina)


 Guest blogger Maya reports great success with this family recipe – however, she warns that you *really* need to take your time with this, especially taking care to cook slowly and not let things burn. Indian cuisine, she reminds us, requires constant attention and no multi-tasking.