It was nasty out yesterday. I’d been up early and so had snuck out for breakfast and coffee before the rain started, but by early afternoon I was fairly well entrenched on my couch, alternately watching crappy TV and trying to care about a not-great book I’m probably not going to bother finishing. As dinnertime approached, I considered venturing out and finding some suitable ‘Saturday night’ activities (like not sitting on my couch), but a glance out my window at the cold rain made items I’d claimed to be “Interested” in on my events calendar decidedly less compelling than staying warm by my fireplace.
As yet another rerun of the cooking show I won’t admit publicly to watching claimed its latest celebrity victims, my mind wandered to dinner. What would I make? I clearly wasn’t leaving the house then, but I am leaving town in a few days, and the ‘fresh ingredients’ section of my pantry is of course a bit sparse, and what’s there needs to get used up. I pondered the most vulnerable assets: a bag of lovely, bright green okra; an only-just still OK lime; slightly more than a quarter of an onion; half of a stalk of lemongrass; the last few cloves of garlic. How do they fit? In the freezer: the last of a bag of shrimp.
As my mind meandered to Thailand, my eye grabbed a jar of extra hot Calabrese pepperoncino peppers. “Ithailian?” Sure, what the hell.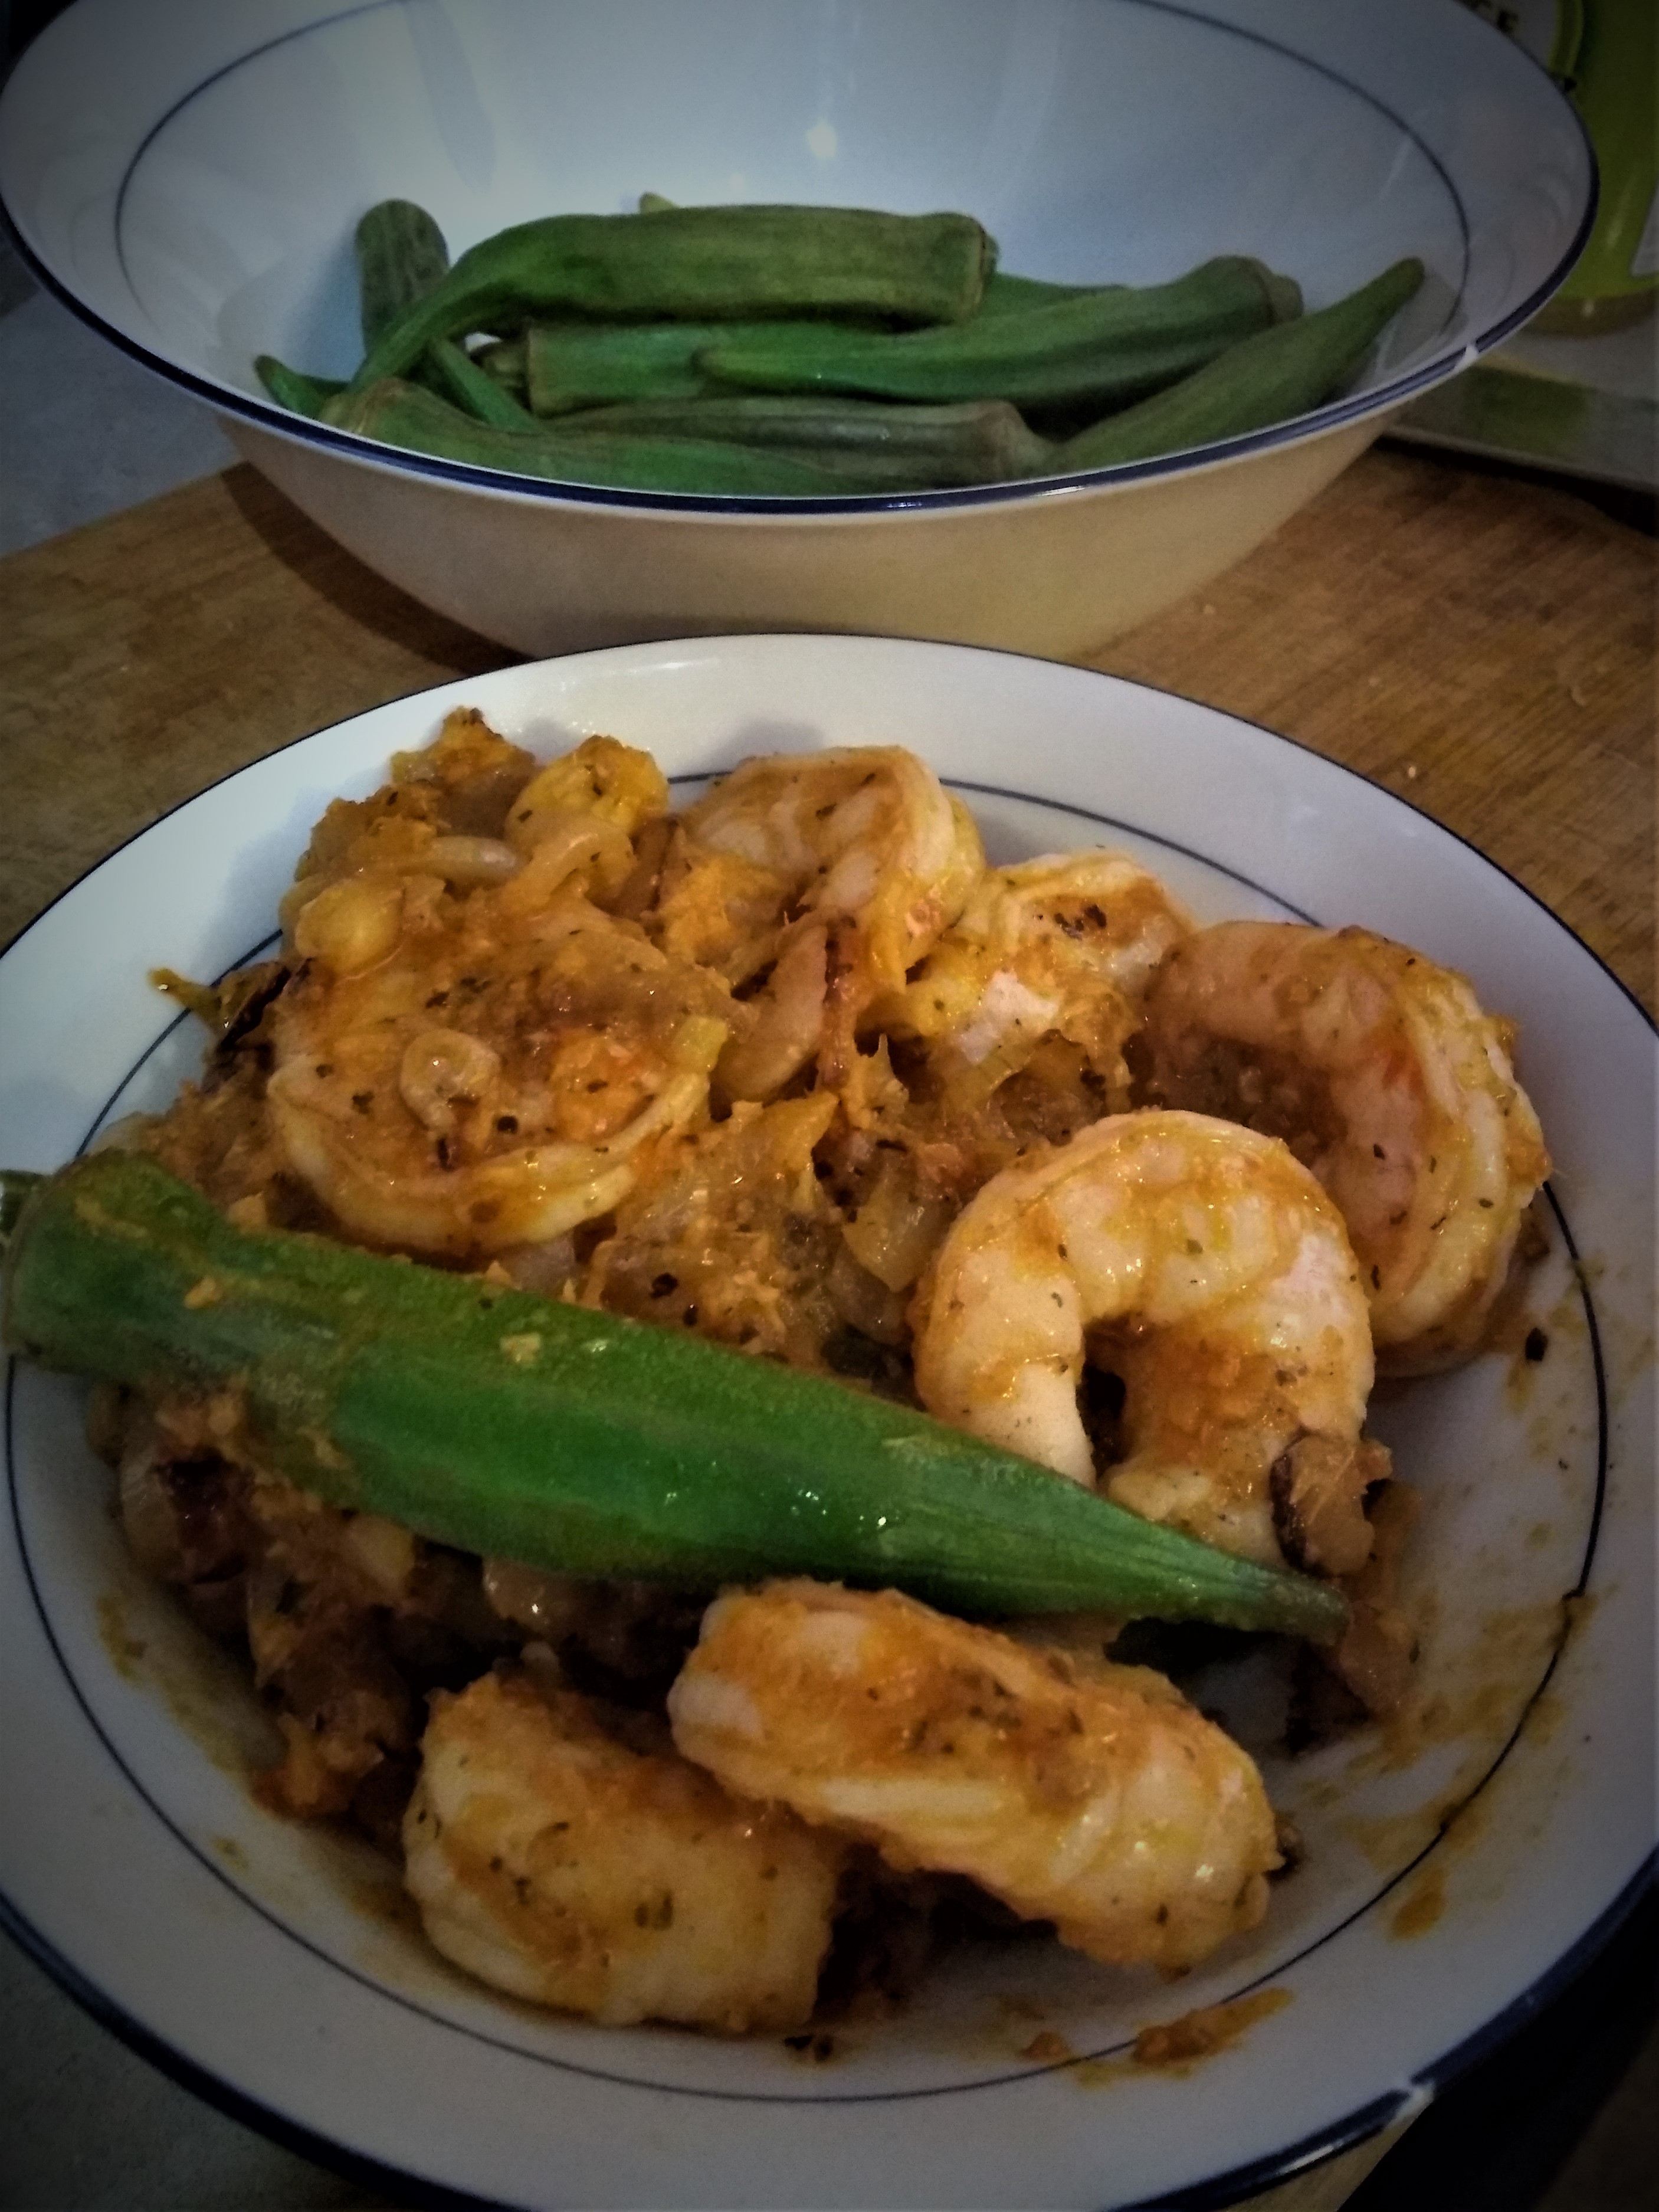
As the shrimp thawed (and I began warming myself with a nip of DC’s own Chacho Aguardiente), I sliced the onion and got it started caramelizing with a couple grinds of black pepper and shakes of dried basil. While that cooked, I assembled the mini-blender, and puréed:
- 4 cloves of garlic
- About 5 inches of lemongrass
- About 2 tbs pepperoncino
- 1 tbs cumin seed
- 2 tbs fish sauce (I use Squid brand, and top it up with a few drops of anchovy oil)
- The juice of 1 lime
- A couple shakes of dried cilantro
Just as the onion started to brown (about eight minutes), I added about a tablespoon of olive oil to the pan, followed by the shrimp (six big ones), and stirred in my puréed sauce. Realizing at this point that it was going to cake like hell, I added about a quarter cup of (unseasoned) rice vinegar to loosen the sauce and integrate the elements. Cooking at this point only took a few minutes, as the vinegar cooked off.
What about that okra, you ask? Super simple: I washed them (there were maybe 16) and tossed them with 2 very finely diced and smashed cloves of garlic, and steamed them over a small wok of water, into which I also muddled the garlic ends and peels. The result was a fragrant edge to the okra – I’m actually surprised this worked, but hey.
I poured the shrimp and sauce over about half the okra (the rest is for lunch!), and it was really tasty. If I’d marinated the shrimp in the purée, it might have been even better, but for a 20-minute clean-your-cupboard dinner, I’m very happy.
– MAW